Important cookie information
This website uses cookies to ensure you get the best experience on our website. Find out more.
- Enter Now
-
Competitions
- Monthly Competitions
- Monthly Training Classes
- British Dressage Online Championships
- Ex-Racehorses
- The Pony Club Online Dressage Championships
- Riding for the Disabled Online Dressage Championships
- BD Para-Equestrian
- Freestyle to Music Championships
- Veteran Horse Championships
- Forces Equine League and Championships
- UK Friesian Federation Leagues
- About Judges
- Meet Our Judges
- News
- Rules
-
Scoreboards
- Main Scoreboard
- Rider League Scoreboard
- Team Challenge Scoreboard
- Ex-racehorse League Scoreboard
- British Dressage Quest Online Scoreboard
- Veteran Horse League Scoreboard
- Freestyle to Music League Scoreboard
- Forces Equine League Scoreboard
- UK Friesian League Scoreboard
- International Friesian League Scoreboard
- UKFF Friesian Fusion League Scoreboard
- Gift Guide
Getting started with Freestyle to Music
- News
- Getting started with Freestyle to Music
- Posted: 12 January 2016
 During February you can take part in a Freestyle to Music Class with Dressage Anywhere. Follow this simple guide to get you started with all you need to know about how to plan your test.
A quick note about rules
Dressage to music is a freestyle test with a list of requirements at each level. You create a floor plan utilising the required movements and set it to the music of your choice.
Timing runs after the first halt until the last halt. The music can start after the first halt but an introductory piece starting before you enter at A adds artistic quality but must not be for more than 20 seconds.
Start outside the arena and film until several seconds after the halt.
Make sure your music source is close enough to the camera so the judge can hear it clearly on your video!
Preparation
Make sure you have a copy of the freestyle to music requirements. You can buy these from the British Dressage online shop or from Dressage Diagrams.
Working out your horse's tempo
The best way to work out your horse's tempo is to get someone to video you riding in walk, trot and canter. Try different movements and shapes as your horse's paces may vary slightly and you will want a good overall tempo for each pace. Watch the video and work out the beats per minute.
- Walk is a 4 beat pace and should be in the region of 48-66 beats per minute (BPM)
- Trot is 2 beats and 70-88 BPM
- Canter is 3 beats and 90-110 BPM.
Choosing music
Once you’ve got an idea of the tempo you want for your walk, trot and canter you can start to choose some music. Have a think about the type of music that you like and what will suit your horse. That light-footed pony might not suit a big, sweeping orchestral piece and likewise, your warm-blood won't look great dancing to The Sugar Plum Fairy.
Your music should have a theme so that it sounds harmonious overall. Instrumental pieces are best, this is a dance after all but if you do choose music with vocals make sure that they are subtle and don’t dominate the soundtrack. You could also have a think about your halts at the beginning and end of the test. You need a definite flourish at the beginning and end rather than a track that just dies away gradually.
A useful source is Equimusic, which is a free online database of music suitable for dressage organised into walk, trot and canter sections with the BPM noted for each piece.
You don’t need to make a final choice at this stage; in fact, it’s better to have several options.
Create a floor plan
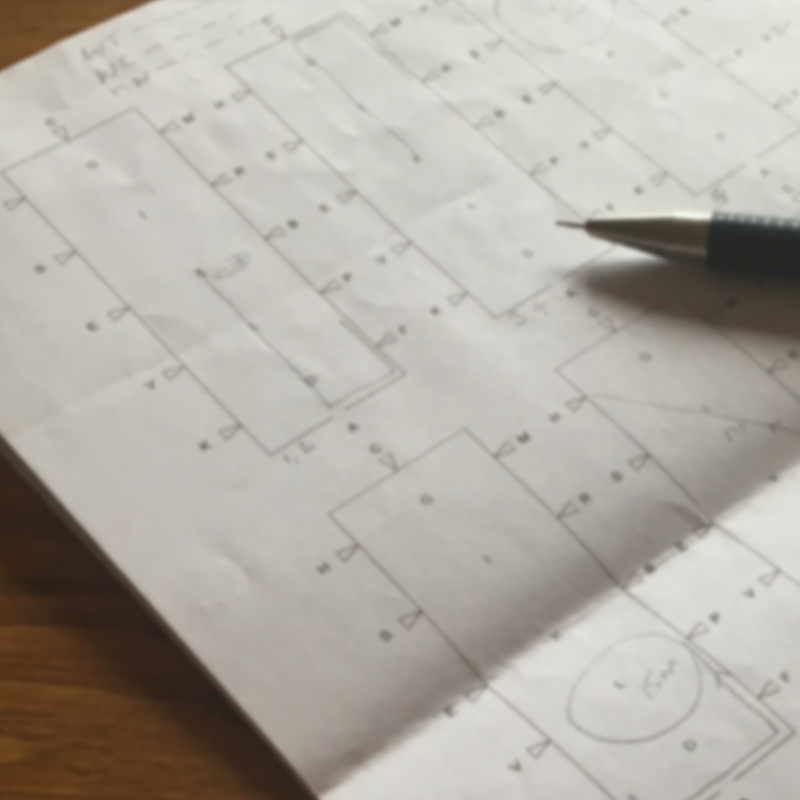
 The nitty gritty part! A good floor plan will show off your horse to his best advantage. There are a lot of trainers out there who can help you design a suitable plan if you need help but it’s fun to do it yourself if you can.
Be sure that you include all the required movements but also plenty of the things he’s good at and not so much of the things he’s not so good at. So if he has a lovely canter, show it off!
Think about the order you want your walk, trot and canter passages to come in. Most tests (at the lower levels) start in trot but your horse may be better after he’s had a canter. Try not to chop and change too much, it will make editing your music much harder and the overall picture won’t be so harmonious.
Remember that this is a Freestyle test. The judge is looking for something a bit more interesting than the normal tests at the level you’re riding at. Freestyle tests use all the space in the arena; don’t just ride around the outside.
Once you’ve collected together all the movements you want to ride and worked out the order you want to ride them you can put them down on paper. Try walking your test through. Does it flow well? Is it balanced on both reins? Make adjustments until you have a plan you like then learn your test!
Filming and tweaking
First of all, you need to create a CD, MP3 or MP4 file with your music so that you can ride to it. Get really familiar with the music and if you have several options to choose from make a final choice about which ones feel best to ride to. While you’re riding try to notice the dynamics of the music, the rise and fall, loud and soft parts and where the phrases end. This will help when it comes to editing your music.
At the next stage you need to ride through your floor plan a couple of times and time it. Prelim, novice and elementary music tests may be ridden in a short (20 x 40m) or long arena. A prelim test can be between 4 and 5 minutes and the novice and elementary between 4.5 and 5 minutes. It is best to time it about 15 seconds under the maximum to allow for variations in running speed or state of the surface.
Editing your music
This is the part that most people worry about. It’s pretty easy to edit your music yourself but if you are not very confident there are lots of companies that will do it for you. You usually need to supply a video of yourself riding your test, the timings (see below) and your choice of music for each pace or section.
Play your video and time each section as accurately as possible:
- From the start outside the arena until the first halt
- The length of the halt
- From the move off until the end of the first section (change to a different pace)
- Continue timing for all the sections from each change of pace until the next one.
For example your timing should look something like this:
| Entry: | 16 seconds | ||
| Halt: | 6 seconds | ||
| Trot: | 2 minutes 15 seconds | ||
| Walk: | 38 seconds | ||
| Canter: | 1 minute 21 seconds | ||
| Trot: | 25 seconds |
(This is the timing for a Novice freestyle test adding up to 4 minutes 39 seconds after the halt.)
There are many ways to edit your music depending on the equipment you have available. Audacity is a free, downloadable application, which is popular and easy to use. If you have an Apple Mac you could use iMovie, which allows you to view your video at the same time.
Start with the entry, chose a point in your music that has a definite halt. The end of the trot music may supply this, it’s fine to use the same phrase or point at the start and end if you like.
Allow a few seconds of silence for your halt. Remember you need enough time to salute and readjust the reins afterwards so 4-6 seconds should be about right.
After the halt you want to start with a definite move off. The beginning of your track may not be quite right for this if it has an introduction, it may be better to start the music piece where the introduction finishes. Allow the track to run for the duration of the first section and try and find a point where a phrase ends just as the transition to the next section starts. Fade out the end of the music slightly so that there isn’t an abrupt change.
Continue to build up each section in a similar way selecting passages from the relevant music to match each pace.
Your last section will end with a halt; again, the end of the relevant track should supply this. If it doesn’t consider changing pace at the end so you can use a different piece of music. In the example of timing for a Novice test earlier there is a section of 25 seconds of trot at the end for just this reason. After your salute at the end fade out the track slightly if it runs on too long.
Play your finished track over several times and make adjustments if needed. If you can play your video at the same time it’s really helpful. When you’re happy put it on a CD or make a file ready to practice.
Practice and polish
Now you’ve got your music and your floorplan you need to get out and practice. Make sure you’re happy with everything. You may find you need to make your transitions slightly earlier or later than planned so adjust the music accordingly.
Once you’re ready for competition you can enter the February Freestyle to Music class. Film your test making sure that the music is playing loudly and is close enough to the person filming for the camera to pick it up clearly. (You are not allowed to add the music afterwards.) Upload your test and you will be judged both on technical performance and also artistic, receiving marks for your floor plan, choice of music and how well you ride to it.
